


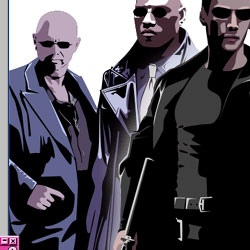
I'd love to tell you that this tutorial has a file to help you follow along with, but unfortunately, it doesn't. My .PSD document is nearly 10MB large and I think that's a bit rediculous, so I'll just supply you with the image and you can create your own. You can get the file here. It's about 300k, no worries.
Before you begin, this tutorial requires basic knowledge of Photoshop and basic knowledge of the pen tool. If you're not sure your knowledge qualifies as "basic", you can click here to double-check.
Once you've selected the pen tool, you'll get a bar that pops up on top that looks like this:

These buttons let you choose what mode you'll use the pen tool in. Shape layers is what we use for vector art. The pen tool works like the lasso tool, in this case. You can make a shape with the pen tool and it gets its own layer- complete with a vector mask. Oooo....
The Path mode lets you create a path and then choosing what to do with it- you create a new layer and either stroke the path or fill the path. Very simple...
#2- Pen Tool and Freeform Pen Tool
Here, you can choose between the normal pen tool (clicking to create anchor points) or the freeform pen tool, which works like the paintbrush. You drag the mouse around to create curving lines and Photoshop creates the anchor points for you...and will fix your line. Unfortunately, what Photoshop thinks is best isn't often what you wanted, so you may end up with points instead of curves and will have to go back and edit them. The freeform pen tool is more of a hindrance than a help for vector art, so make sure pen tool is selected before continuing.
#3- Shape tools
These are really simple- choose a shape and Photoshop will turn the pen tool into a shape tool. I don't really use this much at all...
#4- Create new shape layer
Choose this option if you want to create a new shape layer with the pen tool.
#5- Add to Shape Area
Select this option if you want to add more area to your current layer instead of creating a new layer of the same color.
#6- Subtract from Shape Area
This option works like Add to Shape Area except it...well, subtracts, revealing the layer below.
#7- Color picker
This displays the color the pen tool is currently using it. It corresponds to the current foreground color.
 Step One: First, make a copy of the background and then create a new layer and name it "White" or something...or I guess you could just leave it as "Layer 2"... Make sure the new layer is between the two similar layers. All of your vector shapes will go above the white layer and below the copied image. This makes you able to trace the image much easier- you'll be able to see where your path goes and where the color is going at the same time. You can always turn the copy layer on and off to compare later on. Also, make sure the tool bar above has Shape Layers, Pen Tool, and Create New Shape Layer selected.
I also created Sets to make navigation a lot easier. To put layers in a set, simply click and drag them and you'll
see them appear underneath the set name.
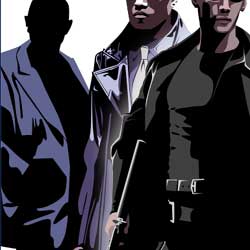
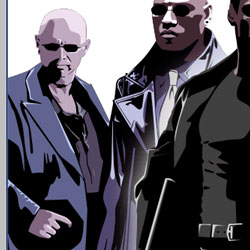
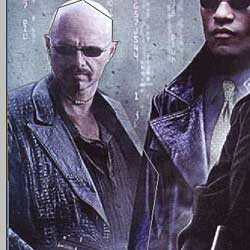 Step Two: Since I already have Morpheus, Trinity, and Neo finished, I'm going to start on Epoch (I think that's his name and I'm too lazy to look it up...). I put his set (sets are like folders for your layers) beneath both Neo's and Morpheus's so I don't have to be careful with every edge, and then I started. Always start your vector art with the darkest color, black in this case (and most cases). Make sure the pen tool is set to Shape layer mode (above) and create a few anchor points in his shape. You can always add more later, and don't worry about being exact. Make sure you put this layer in between the image copy (top one) and the white background.
 Step Three: The zoom tool will become your best friend at this point. Zoom in and play with your anchor points. Make sure you are as exact as you can be, detail is the key to good-looking vector art. To edit your anchor point, hold down alt and click and drag to make them curved and hold down ctrl and drag to move them. The current anchor point you're editing will be black, and the rest will be white. Also, make sure you name your layers according to color or body part or whatever for organizational purposes.
Hint: Press the tab key to make those annoying windows to go away, and press the tab key again to make them come back.
 Step four: All right, now you've got a crazy black blob that resembles Epoch (hopefully), but where do you go from here? Let's go to his jacket- turn the top layer on, hit B to select the brush tool and hold down alt to select a color on his jacket. I'm going to use R96, G103, B143. Make sure you pick a color represents most of the midtones on his jacket, and if you don't like the color, it's very easy to change it. Copy your fantabulous black Epoch blob layer (vector mask and all) to form another layer on top of this one and hit alt+backspace to fill your new foreground color (ctrl+backspace is background color fill). Don't forget to name this layer, I named it something like "midjacket". Starting at the bottom of his jacket, move your anchor points (ctrl, click and drag) or delete them (simply click on them) to fit to the new line of color. If the little curve lines are annoying, simply hit alt and click on them and they'll clear. Ignore his gun for now, those are different colors and they'll get different layers. If the lines are being difficult to manage, when you
have a big space between two groups of color, click on an anchor point (make sure just it is selected) and press
delete.
Step four: All right, now you've got a crazy black blob that resembles Epoch (hopefully), but where do you go from here? Let's go to his jacket- turn the top layer on, hit B to select the brush tool and hold down alt to select a color on his jacket. I'm going to use R96, G103, B143. Make sure you pick a color represents most of the midtones on his jacket, and if you don't like the color, it's very easy to change it. Copy your fantabulous black Epoch blob layer (vector mask and all) to form another layer on top of this one and hit alt+backspace to fill your new foreground color (ctrl+backspace is background color fill). Don't forget to name this layer, I named it something like "midjacket". Starting at the bottom of his jacket, move your anchor points (ctrl, click and drag) or delete them (simply click on them) to fit to the new line of color. If the little curve lines are annoying, simply hit alt and click on them and they'll clear. Ignore his gun for now, those are different colors and they'll get different layers. If the lines are being difficult to manage, when you
have a big space between two groups of color, click on an anchor point (make sure just it is selected) and press
delete.
Don't foget to close your lines, otherwise things will look funny.
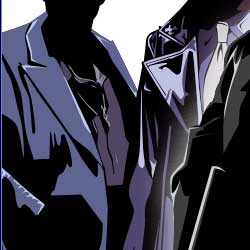
 Step five: After you've created a basic blob of color, you probably want to know how to get some of the black areas inside the blue. To do this, set your pen mode on Subtract from shape area (above) and outline the areas that you want the black to show through on. Stay on the same layer!
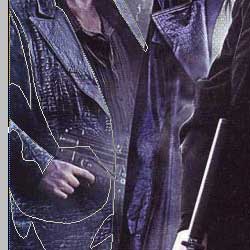
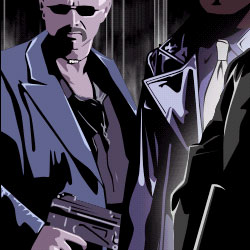
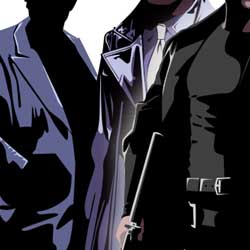 Step six: My finished midjacket layer looked like this. I went back and played with the lines a little bit and subtracted from the area where needed (collar especially). Let's put the hilights on his jacket now. Make sure the top layer is turned on, hit 'b', and hold down alt to pick a nice color for hilights. I picked R192, G200, and B239 to work with. It gets a little confusing to duplicate the layers, so I made sure the pen tool was set to Create New Shape Area and started a new hilight layer, which I named 'ljacket'. After you start your first shape, change the mode to Add to Shape Area and finish off those hilights.
 Step seven: Before we move on to his skin, I want to tackle his shirt. Since it's black already, all you need to take care of are the hilights and midtones, so select a good color (I used R144, G143, and B159 for the hilights and R80, G71, B95 for the midtons), set the pen tool to Create New Shape Area mode, zoom in really far, and try to get all the hilighted areas you can. Don't forget to switch to Add to Shape Area mode after your first shape!
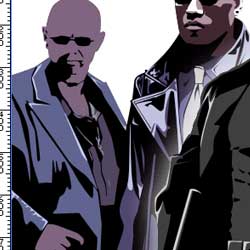 Step eight: Now it's time for his skin. First, duplicate your original black layer and drag it on top of your other layers. Make sure the original image is visible, and pick a color to use as the darkest shade on his face/skin. I have discovered that that funny blue hue doesn't look very good on his skin, try to find a semi-normal looking color. I'm using R128, G104, B128, but you can change it around if you don't really like my color. Select the black layer copy (and re-name it something like dskin for organization's sake), hit alt + backspace to fill the layer with new color, and edit the anchor points so you have a good resemblence of his skin. Leave out all the parts that are black, such as his sunglasses and the area on his neck. The sunglasses are sorta hard to do, you might have to spend a little extra time perfecting them.
 Step nine: Right, now he looks like a funny purple man. Ah well, I never did like him anyways...*cough* Allrighty, now duplicate the dskin layer and turn the top layer on. Find a nice color to use for his skin (I used R191 G168 B192), select the dskin copy layer (which you should rename to medskin or something), and hit alt + backspace. Sometimes lines can get really confusing, but take your time remember you can always undo mistakes.
 Step ten: Now that we have a funny purple man with two shades, it's time to add the hilights layer. Select a new color off of the original again, I'm using R240 G223. B240, and make sure your pen tool is set to Create New Shape Area before you click. Get some of the brigther areas, such as his head and his nose, but be careful on his nose. I find the noses really hard, but they just take practice. Don't forget about his hand! Make sure you set your pen tool to Add to Shape Area after your first shape.
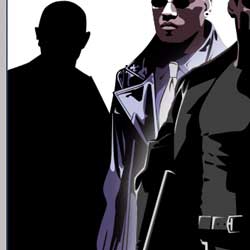
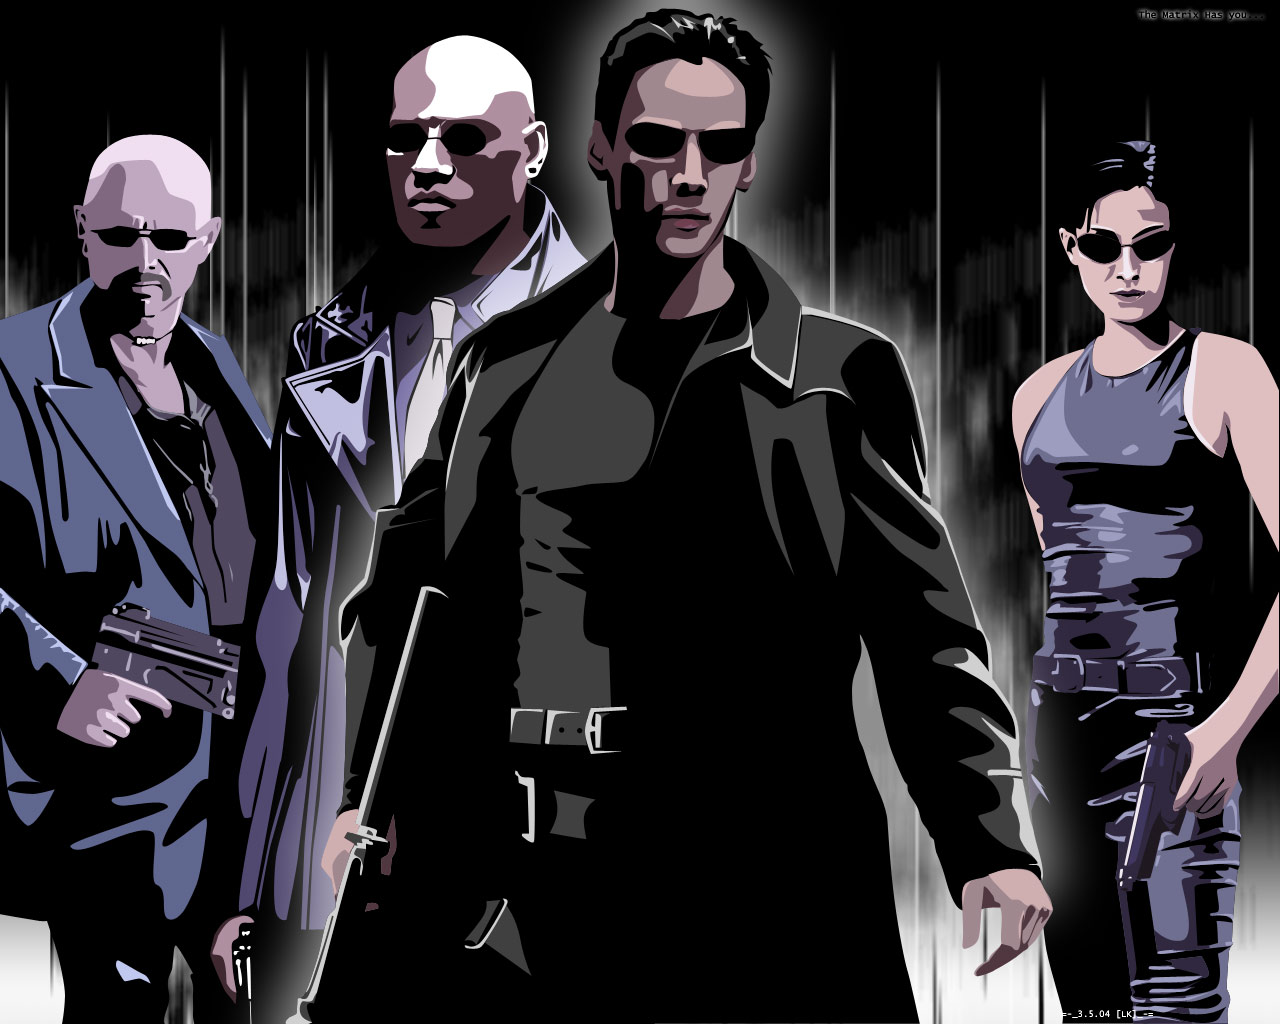
 Step eleven: Now all we've got left is finishing touches. I created another layer beneath all of his skin layers and finished his gun off with three layers or so, don't forget his necklace, and add another layer on top of the skin one to cover his moustache. Also, don't forget to touch up your lines. Either expand layers where they need to be expanded (the light ones, on his head, for example) or contract the darker ones. Ta-da! All done.