L-chan
 Step one
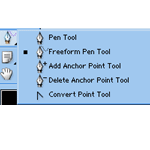
Before you start, you should probably take a look at your tool bar and see where the pen tool is.
You'll see the icon in the third grouping down with a little arrow in the bottom-right corner. All the
arrow symbolizes is that you can click and hold on the tool and some more options will pop up. For this
particular tool, you'll get the options 'pen tool', 'freeform pen tool', 'add anchor point tool', 'delete
anchor point tool', and 'convert point tool'. Now that you've taken a look, open up a new document (Ctrl+N
or File/New ), any size you prefer with a white background.
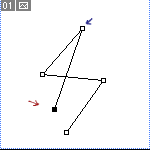 This tool is used pretty much like connect the dots. Each 'dot', or anchor point, will extend a new
line from it to the next 'dot'. The red and blue arrows are showing you examples of these.
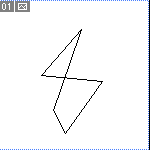 Now click back on the first anchor point you created; you should see a little icon next to your pointer
come up as a circle. You've just closed your path.
 Step two
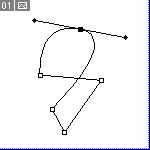
Well, now you've got the basic shape...but you want to edit it and put curves in it, right? Simply hold down
'Ctrl' and click back on your path (with the pen tool still your active tool). To create a simple curve, hold down
'Alt' and click and drag on an anchor point. You'll see the curve form, like this:
 Sometimes you want sharp corners, so you once again hold down 'Alt' click and drag the new 'curve lines' in the direction
you want the line to go.
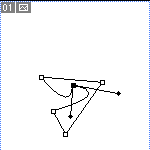 You can also move the anchor points around and edit your path quite easily- just hold down 'Ctrl' and click and drag
on a black anchor point.
 Step Three
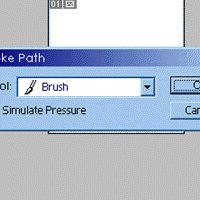
When you feel like you've got it looking like you want to, you can hold down 'Ctrl' and click anywhere off your path. You can now choose to begin a new path somewhere else on the document, or you can choose to stroke the path. Stroking the path is very easy- with the pen tool selected, right-click anywhere on your canvas and select the option 'stroke path'. You'll see a drop-down list full of tools, so select one and press 'OK'. Photoshop will stroke the path according to the selected tool's current options, so make sure you check those quickly. Now that you're done, press 'delete' and those annoying pen lines will go away. Great job!


