


So far, I think I've done every style of shading but cell...so here it is! Cell shading is the shading that cartoons and anime usually have...and if you do it right, it looks pretty nice. For this tutorial, you'll need Photoshop (of course), and basic knowledge of the tools and such. You'll also need your lineart on a separate layer from your background, and if you don't have that, you can follow along with my practice file. If you have any questions or problems, please feel free to E-mail me. With that, I wish you luck-it takes practice to get really good, so have patience!
-L-chan
 Step 1
Create a new layer in between the background layer and the lineart (I've already done it for you in the practice file) and name it "skin". There are two methods that I color with, but there are more possibilities than that. If your lineart is 2px wide or wider, you can use the magic wand tool (press 'm'). After you select all the areas you want colored, simply go to select/modify/expand... and enter "1 px". You can hold down Shift to select more than one area at a time. However, the lineart I'm using in this tutorial is 1px wide, so we have to use a slightly more messy method. Snag the brush tool set on...maybe 9px or so...and select a color for their skin (I used R241 G201 B202). Double-check to make sure you're coloring on the skin layer and have at it...just make sure you don't miss any areas like hands or feet. Always go back and double-check to see if you missed any areas, especially if you are using the magic wand tool method above.
 Step 2
To get the smoothest shading results, use the pen tool instead of the polygonal lasso tool. If you don't know how to get nice curves and the likes with the pen tool, try this pen tool tutorial to get acquainted with it. Outline all of the areas you want to be shaded; don't be afraid to go over the edges of your coloring.
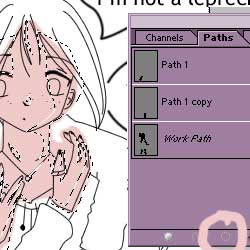 Step 3
Now it's time to convert our path to a selection. Open the Paths window (If it's not showing, go to window/paths) and click the "Path to Selection" button on the bottom of it (circled in peach). Your pen tool paths should turn into a gigantic selection now.
 Step 4
Now go to Image/Adjustments/Brightness/Contrast, and set the brightness to -32 and leave the contrast at 0. Hit ctrl+D when you're done with that, and if you want, you can go back a step and outline another area within the already-shaded area to create a 2nd dark layer. I usually stay away from adding too many dark layers to the skin when I cell-shade, though... it makes it look odd. Well, either that or I suck at it, but I'm generally optimistic...
 Step 5
After you're satisfied with the shadows, go back and do the hightlights using the same method with the pen tool. When you get to adjusting the brightness/contrast, set the brightness to +32. Never, ever use white highlights on skin- it looks bad.
 Step 6
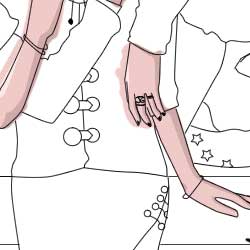
Go back and erase the peach areas that go outside of the lines. You don't have to erase all of them, however. Since this is the very bottom layer, we'll be putting other layers on top, so just erase the areas that won't be covered by other layers later. Look at the screenshot- I left the area around his hand colored, but I had to erase the areas around her arm because that'd be outside her body completely. If you're an over-achiever or just don't understand what I'm (crappily) trying to explain, erase all the areas.
 Step 7
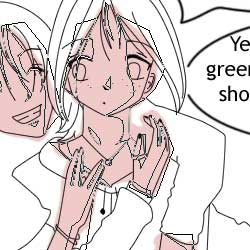
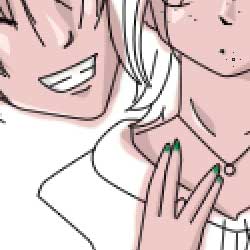
Take care of a few extra things here. Make another layer (named "Extras") and color in Sylvan's scary teeth (shade them, too). You can give Mandi some nice green fingernails, if you want.
 Step 8
Eyes are always fun to do, so we'll do eyes next. Create a new layer and make the whites of her eyes white, and then use the color R25 G123 B48 to make her irises green. Add a black pupil and then pick a nice fluffy brush to do the highlights (white, too). Yay for eyes!
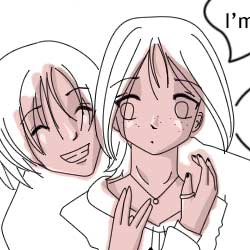
 Step 9
Hair is fun...so color it like we did before. For Mandi's hair, I used R255 G90 B16, and I went back and erased the areas that went over the skin and outside her body. For hair, I usually use two layers of highlights, so after you've adjusted the brightness (+100) of the first hightlight, go to select/modify/contract... and enter "2px", and then adjust the brightness again. Make another layer for Sylvan's hair...he has fun hair all the time- it's usually black and some other color at the tips. I'm feeling random today, so we'll use this randomly selected color R255 G189 B60. First color in most of his hair black, and then the tips the yellow color. (Well, highlights are optional...) Ah, but wait! We can't see the lineart any more, so double-click on the layer to pull up the layer style window and just check the "Color Overlay" box to make our lineart this freaky red color. If you chose to give Sylvan's hair the interesting yellow part, take out the Smudge Tool and set it on 1px. You can play with the pressure, if you want, but smudge it around a bit so it looks like it's part of his hair and not a big blob. Shade his hair the same way we shaded Mandi's.
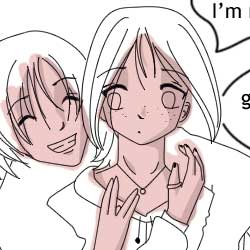
Step 10
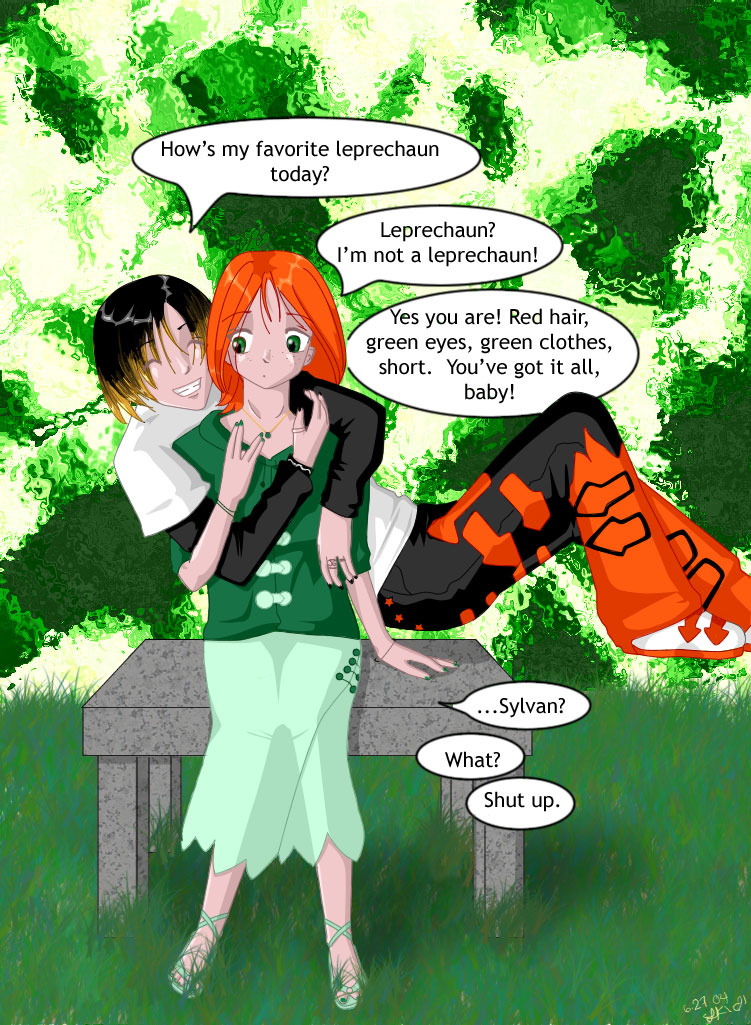
You're almost done...do the rest of the clothing and such the way we colored the other layers. You can toggle the lineart layer's color overlay on and off the same way you toggle a layer on and off. Enjoy finishing the rest of the picture!